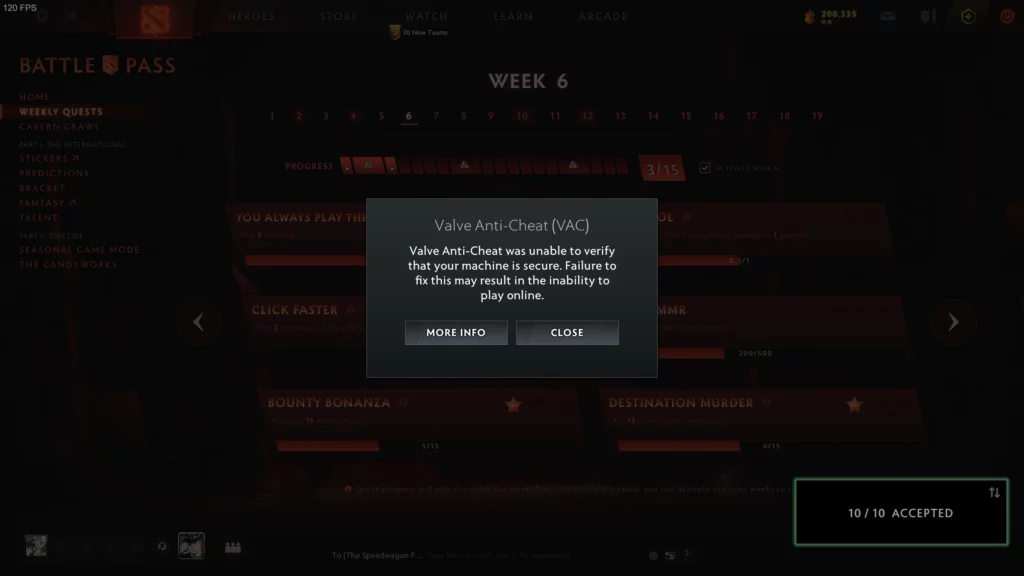
Several Dota 2 players are currently discussing the effectiveness of Valve anti-cheat (VAC) system that bans cheaters in the game. VAC serves as the guardian of integrity in Dota 2 matches. In this article, we will dig into how you can fix the VAC in Dota 2.
VAC is an anti-cheat system that tries to find out if players have installed cheats on their PCs. A recent improvement in cheating detection technology has changed the VAC system. If you are getting a VAC error after the latest update, this article is for you. Without wasting further time, let’s get started.
How to Fix Valve Anti-cheat in Dota 2?

Anti-cheat systems can get mistakenly triggered and VAC is not an exception. Therefore, if you see a sudden error message from VAC, you shouldn’t worry about it. Instead of using a shortcut on your desktop, try opening Dota 2 through the Steam library. If the problem still exists, make sure that your game files are correct.
Follow the steps mentioned below to fix it:
- Open Steam and navigate to the game library.
- Right-click on “Dota 2” and select “Properties.”
- Go to “Installed Files” and then click on “Verify integrity of game files.” (Note: Try disabling the “Cloud Share” option in the game’s properties before verifying game files.)
- Once the verification process is complete, launch Dota 2 to check if the error persists.
- If the VAC error still shows up, uninstall and reinstall Dota 2.
We hope the above-mentioned steps will successfully fix the VAC error in Dota 2.


