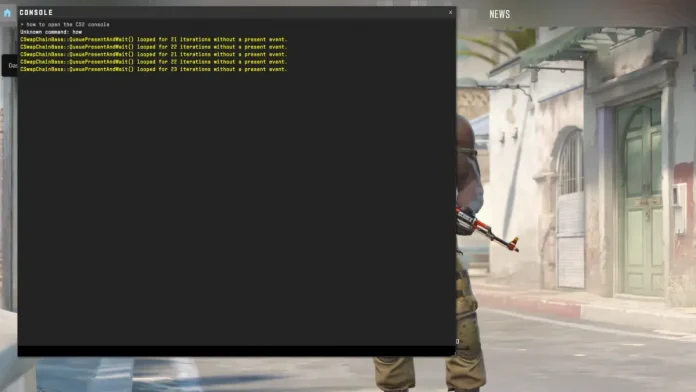
Counter-Strike 2 (CS2), the latest sensation in the world of esports, has garnered a massive following thanks to its engaging gameplay and competitive spirit. One of the key features enabling players to tweak their gaming experience is the console. This powerful tool allows players to customize settings, enter commands, and enhance their gameplay.
However, for many newcomers, accessing the console in CS2 can be a puzzle. This article will explain to you how to open the Console in CS2.
How to Open Console in CS2?
- Enable the Console Through Game Settings Before you can use the console, you must enable it from the game’s settings. This can be done by navigating to the game’s main menu, selecting ‘Settings,’ and then heading to the ‘Game’ tab. Look for the Enable Developer Console option and set it to ‘Yes.’ This action activates the console feature, making it accessible during gameplay.
- Accessing the Console with a Hotkey With the console enabled, you can now access it anytime during the game. The default key to bring up the console is the tilde (
~) key, typically located just below your keyboard’s ‘Esc’ key. Pressing this key should open a new window on your screen, which is the console where you can input various commands. - Understanding Console Commands The console is a gateway to a range of commands that can alter your gaming experience. These commands include adjusting your crosshair, setting your FPS limit, and creating practice setups. It’s essential to use these commands wisely and understand their impact on your gameplay.
- Customizing the Console Key If the default tilde key is inconvenient or conflicts with other bindings, CS2 allows you to change the console hotkey. Head back to the ‘Game’ tab in the settings, and you will find the option to bind the console to a different key of your choice. This customization ensures that accessing the console is always within easy reach.


