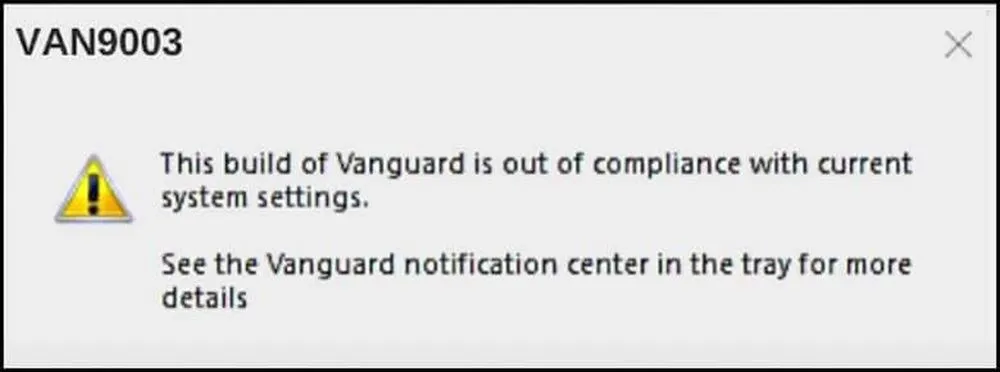
Valorant players may occasionally face the VAN9003 error, which can disrupt their gaming experience. This error typically appears with a message stating, “Secure Boot not meeting requirements”. It’s a security measure implemented by Riot Games to ensure the integrity and fairness of the game. Essentially, if Secure Boot or TPM (Trusted Platform Module) is disabled on your computer, Valorant will refuse to start, resulting in the VAN9003 error.
Understanding Secure Boot and TPM 2.0
Secure Boot is a security standard that helps ensure that your PC boots using only firmware that is trusted by the manufacturer. It’s a key requirement for running Valorant on Windows 11, as both Riot Vanguard (Valorant’s anti-cheat system) and Windows 11 require Secure Boot and TPM 2.0 to be active. TPM is a hardware-based security feature that helps manage encryption keys and other security tasks. Without these features enabled, Valorant will not launch, and players will encounter the VAN9003 error.

Steps to Fix the VAN9003 Error
To resolve the VAN9003 error, follow these steps:
1. Enable Secure Boot on Your Computer
Access your computer’s BIOS settings and ensure that Secure Boot is enabled. This may involve switching the BIOS mode to UEFI if it’s set to Legacy or CSM. If Secure Boot is already enabled but the error persists, try disabling and then re-enabling it.
2. Check if TPM is Enabled
In the BIOS settings, look for the Trusted Computing option and make sure that the security device support is enabled, which will activate TPM 2.0.
3. Update Drivers and Windows
Ensure that your Windows operating system and graphics card drivers are up to date. This can help prevent compatibility issues that might cause the VAN9003 error.
4. Run Valorant in Compatibility Mode
If you’re still facing issues, try running Valorant in compatibility mode for Windows 8. This can be done by right-clicking on the Valorant icon, selecting properties, and then choosing the compatibility tab.
5. Reinstall Valorant and Drivers
As a last resort, consider reinstalling Valorant and your drivers. This can help eliminate any corrupt files or settings that might be causing the error.
6. Downgrade to Windows 10 (Optional)
While not the most desirable solution, downgrading to Windows 10 is an option if the error cannot be resolved on Windows 11. However, this should be considered a last resort.

Additional Tips
- BIOS settings can vary depending on the motherboard manufacturer, so it’s important to consult your motherboard’s manual or seek help online for specific instructions.
- If you’re not comfortable making these changes yourself, consider seeking assistance from a professional or a knowledgeable friend.
By following these steps, you should be able to resolve the VAN9003 error and get back to enjoying Valorant on your Windows 11 system. Remember to keep your system’s security features enabled to not only play Valorant but also to protect your PC from potential threats.
For visual learners, there are several YouTube tutorials available that provide step-by-step instructions on how to enable Secure Boot and TPM, update drivers, and run Valorant in compatibility mode.
By ensuring that your system meets the security requirements set by Riot Games, you can enjoy a seamless and secure gaming experience on Valorant.


