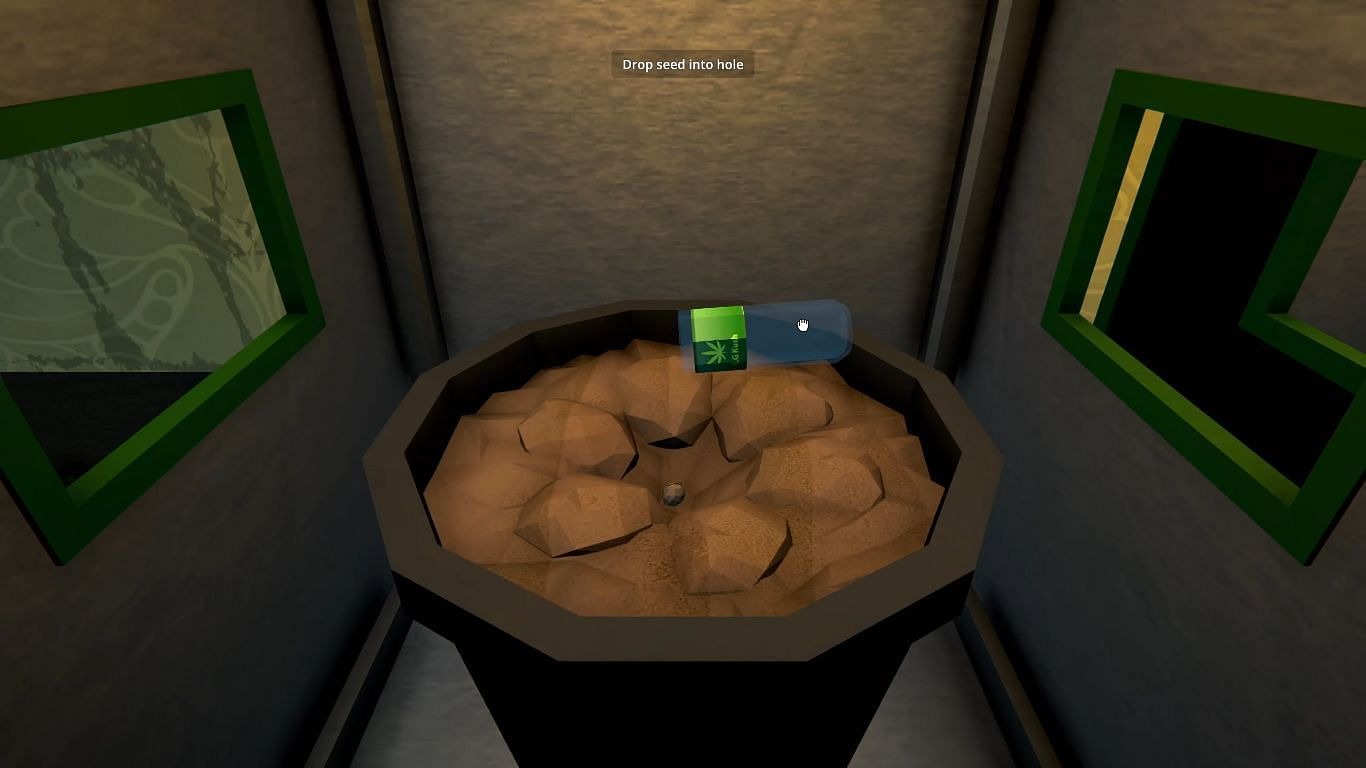
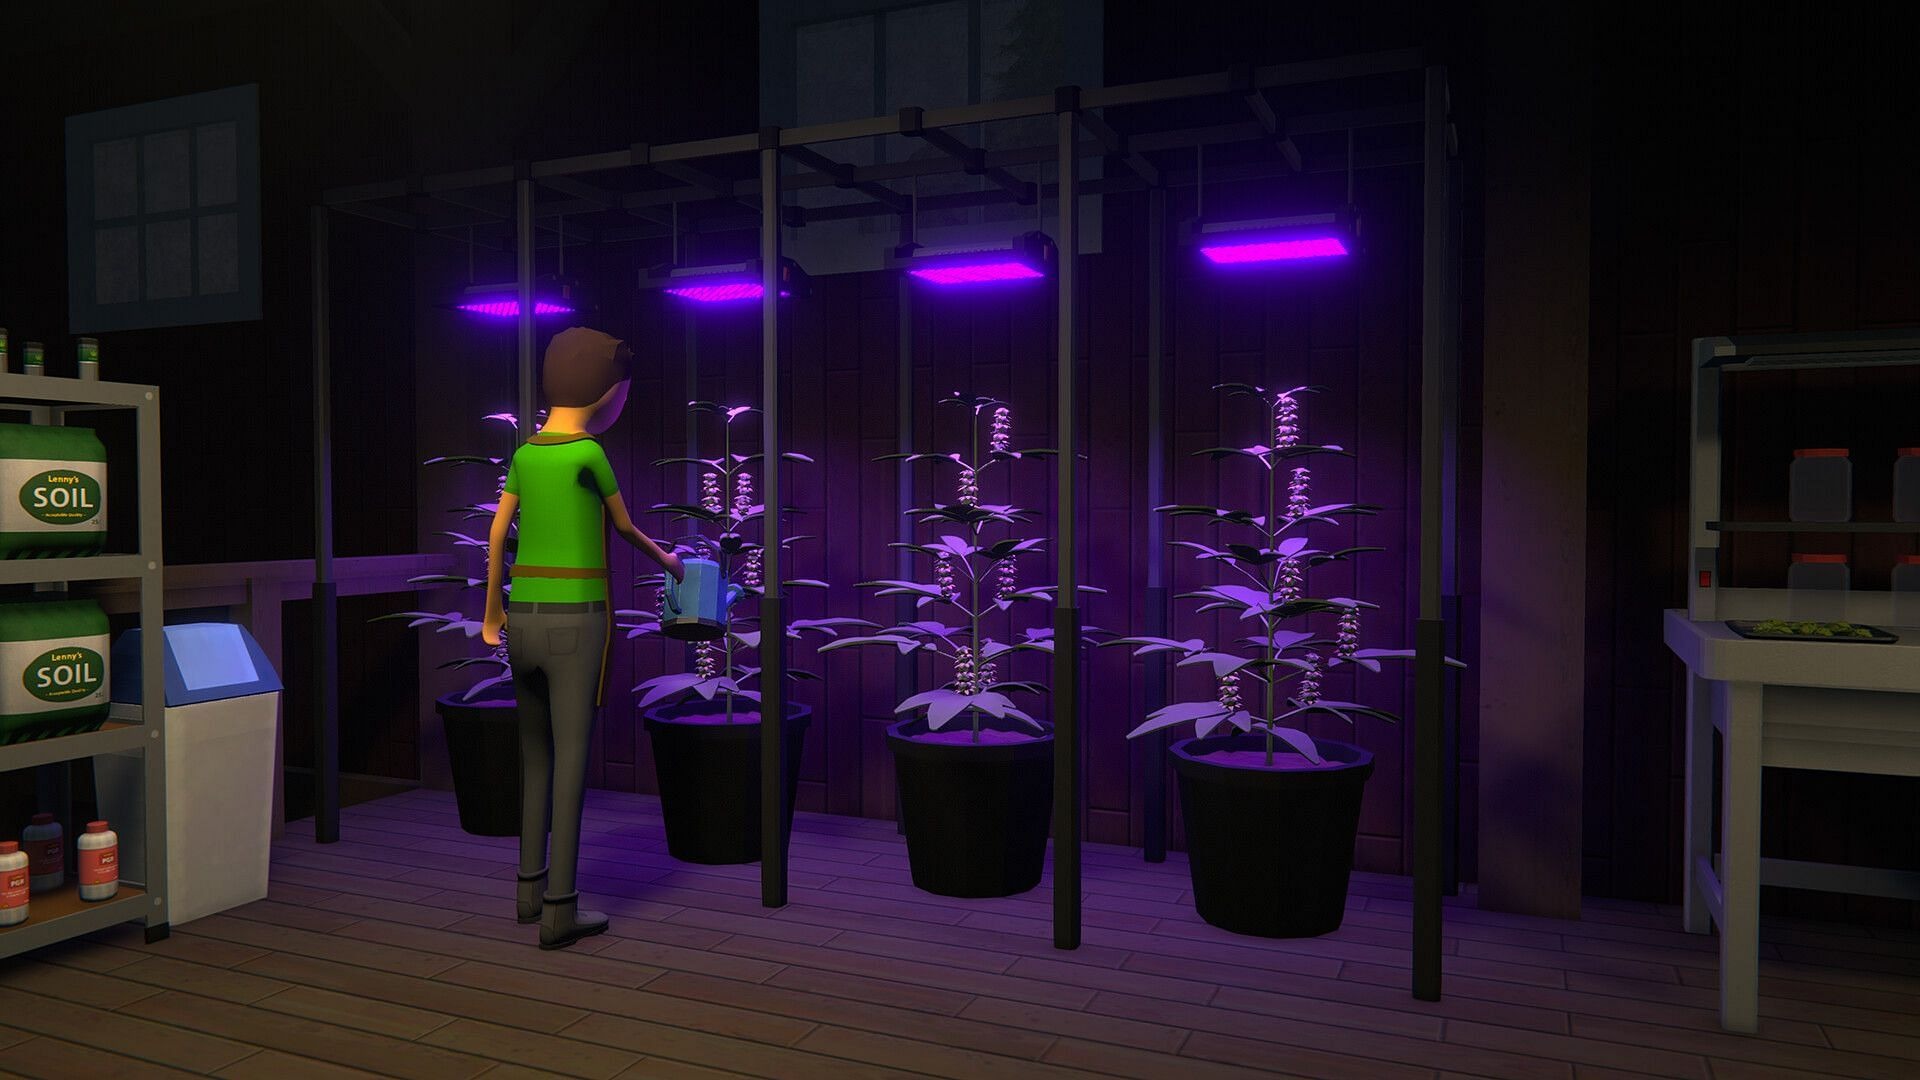
In Schedule 1, upgrading your Planter is crucial for maximizing efficiency and keeping up with increasing customer demands. A basic setup won’t cut it as your operations expand—thankfully, the upgrade process is straightforward if you know where to look. Here’s how to boost your Planter’s performance.
Step 1: Unlock the Warehouse
Before upgrading, you must unlock the warehouse, accessible between 6 PM and 6 AM in-game. Inside, you’ll find Oscar, the vendor who sells all necessary upgrade components. Cash is the only accepted currency, but an ATM inside the warehouse makes withdrawals easy .
Step 2: Purchase Upgrade Components

Oscar offers three key items:
- Upgraded Pot (Moisture-preserving or Air Pot) – Increases yield from 8 to 12 products per seed.
- Suspension Rack – Holds your Grow Light.
- Grow Light – Speeds up plant growth.
The Air Pot (costing $120) boosts growth speed by 15% but drains moisture 30% faster, requiring frequent watering .
Step 3: Set Up Your Upgraded Planter
- Attach the Grow Light to the Suspension Rack first.
- Install the Upgraded Pot—this is the core upgrade, directly increasing output.
- Ensure your setup includes a basic frame and lamp (if using an Air Pot) to avoid stunted growth .
Also Read: How to Fix Schedule 1 Infinite Loading Screen Error?
Why Upgrade?
- Higher Yield: More products per seed mean faster order fulfillment.
- Faster Growth: Reduced wait times between harvests.
- Scalability: Essential for handling larger customer bases.
Upgrading your Planter is an investment, but one that pays off as you progress. Need more Schedule 1 tips? Stay tuned for advanced farming strategies!


