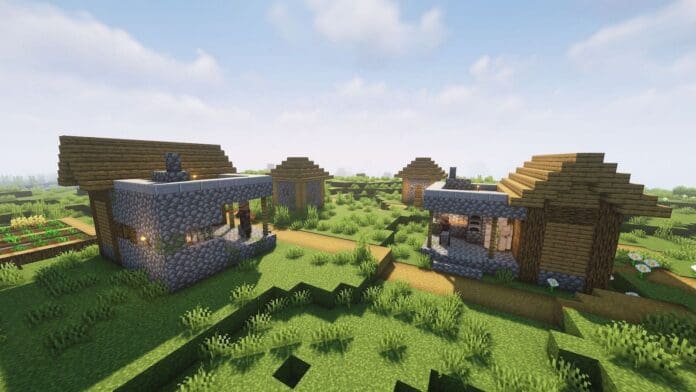
Shaders are one of the most well-liked modifications for Minecraft since they improve the game’s aesthetic appeal. However, they can only be set up in the game’s Java Edition. Players must install a second mod that enables shaders to run because they cannot be installed directly into the game. The majority of participants use Optifine for this activity. The next-best alternative would be Iris because Optifine hasn’t yet been made available for Minecraft 1.19.3, though.
We will go through how to install shaders in Minecraft in this tutorial. Read all the way through.
How to install Shaders in Minecraft 1.19.3?
Iris is a mod that enables shaders and is well-recognized for enhancing the game’s graphic performance. Thankfully, it has already been made available for Minecraft’s most recent edition.
Here is how to set up Iris in Minecraft 1.19.3 now.
If Java JDK is not already installed on the user’s PC, they can download it from here. It is essential to install this application since Iris cannot function without it. The Iris shaders must be downloaded by users once Java JDK has been set up. Click here to download.
Launch the downloaded.jar file with Java JDK to install Iris. To achieve this, choose “Open with” when you right-click on the.jar file. Users must choose “Java Platform SE Binary” here.
The Iris & Sodium installer will therefore launch, and users must choose version 1.19.3 there. The user can navigate and choose the appropriate location if they installed the game in a different directory. The install button must be clicked after that.
Once the aforementioned processes have been completed, a new game installation will show up in the official launcher. Users must manually build a fresh installation in the launcher and choose the Iris version if that option does not appear. The freshly installed version must be chosen before users may start the game.
For more exclusive esports and gaming content, please follow TalkEsport on Google News.


