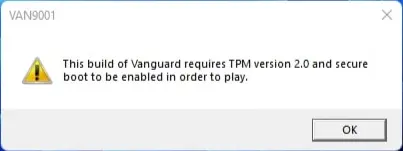
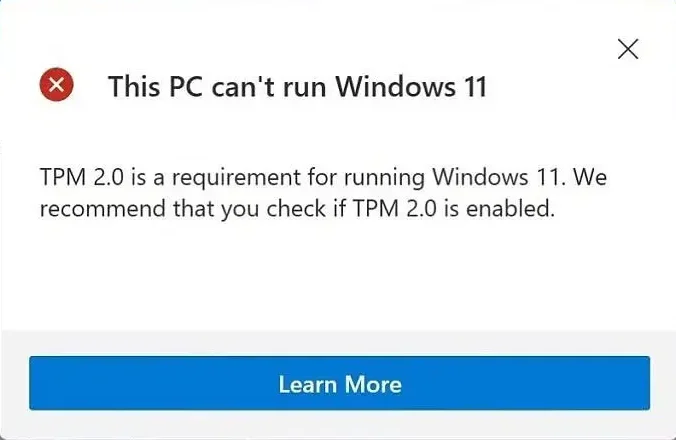
Secure Boot and TPM 2.0 go hand-in-hand with VALORANT’s basic system requirements, especially when it comes to Vanguard. Riot’s reliable anti-cheat system won’t let you jump into VALORANT unless these Windows 11 security features are enabled.
In simple terms, it’s just not going to happen. So, how do you enable Secure Boot, fix those annoying VAN9001 errors, and tackle the TPM issues that are blocking VALORANT on Windows 11?
So be another normie on the internet and go through this guide and you should be back in VALORANT in no time.
What is Secure Boot?
Secure Boot and TPM (Trusted Platform Module) 2.0 are security features built into Windows 11. Think of them as guardians that ensure every program your computer runs meets high standards of reliability and security. VALORANT needs Secure Boot and TPM to function because they play a crucial role in how Vanguard checks that your system is a trustworthy and secure environment. Essentially, they are part of Vanguard’s strategy to combat most cheaters.

If that’s not all the tech jargon you need for now, Windows 11 usually has Secure Boot and TPM 2.0 enabled by default, but if you run into a VAN9001 or VAN9003 error while trying to play VALORANT, it’s time to get to work.
But don’t worry! Fixing a Secure Boot issue is usually quite straightforward…
Here’s How to Turn On Secure Boot and TPM
Don’t worry, we’re about to take you through some parts of your computer that might feel a bit daunting if you’re not tech-savvy. Just follow our steps, and you’ll be just fine…
First, find the BIOS key assigned to your computer. It’s usually one of these: F1, F2, F10, F12, Del, or Esc. Here’s a handy list to help you identify your BIOS key.
ALSO If your mouse isn’t working in the BIOS menu, don’t panic – that’s completely normal; just use the arrow keys on your keyboard to navigate.
Follow the steps mentioned below:
- Restart your computer.
- Press your BIOS key as your system starts up (it’s a good idea to tap it repeatedly since you have a short window to press it, and it’s easy to miss!).
- In the BIOS menu (check the image example above), go to the Boot Options tab.
- Then, select Secure Boot and turn it on.
- Make sure the Boot Protocol/BIOS Mode is set to UEFI and that Secure Boot is enabled.
- Next, head to the Security tab and confirm that the TPM State is enabled.
- Great job! You’ve just activated Secure Boot and TPM.
You’re just one reboot away from jumping into VALORANT on Windows 11!
Let your system restart, launch the game, and go out there and blame your teammates for your losses!
But, What if You Still Can’t Enable TPM?

This situation typically arises if you somehow installed Windows 11 while bypassing the TPM verification. Downgrading to Windows 10 might help you avoid this frustrating issue.
However, since Windows 11 has been out for over two years, the chances of this occurring are slim. A factory reset could be beneficial, but make sure to back up your files first!
If that doesn’t resolve the problem, you might want to try uninstalling and reinstalling VALORANT. With those two steps, you’ve essentially performed the classic customer support advice of “turn it off and on again.”
We hope this guide helps you start playing Valorant on your windows 11 machine. If it did, keep watching this space for much guides!


