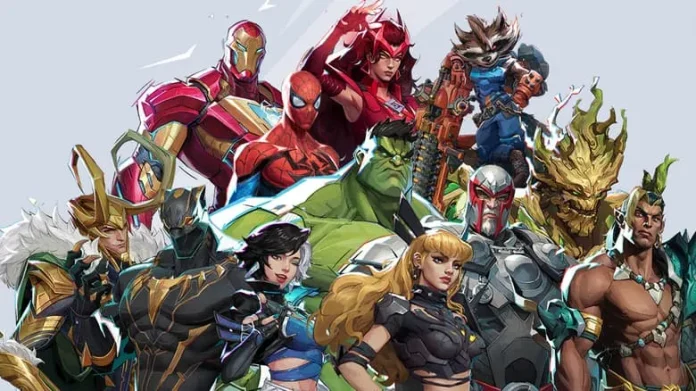
In the vibrant world of gaming, modding has become a popular way to enhance the experience. In this guide, we’ll explore how to easily add mods to Marvel Rivals, allowing you to customize your gameplay with exciting new skins and features. However, it’s essential to proceed with caution, as modding can lead to account bans in online multiplayer settings.
Key Takeaways
- Modding Risks: Understand the potential for account bans due to anti-cheat systems.
- Choosing Mods: Use trusted sources like Nexus Mods for downloading.
- Installation Steps: Follow a straightforward process to install mods.
- Community Engagement: Share your modding experiences and ideas with the community.
Understanding Modding Risks
Before diving into the modding process, it’s crucial to acknowledge the risks involved. Marvel Rivals is an online multiplayer game with anti-cheat measures in place. While some mods, like custom skins, may seem harmless, others can provide unfair advantages, such as invisibility. Always take responsibility for your actions and be aware of the consequences of modding.
Finding The Right Mod
The first step in modding your game is to find the mod you want to download. A popular choice among players is Nexus Mods, known for its reliability. For this tutorial, we’ll use the Black Suit Spider-Man mod as an example. Here’s how to find and download it:
- Visit the Nexus Mods website.
- Search for the Black Suit Spider-Man mod.
- Navigate to the Files tab.
- Click on Download and select the slow download option (this is free).
Extracting The Mod Files
Once the mod is downloaded, it will typically be in a compressed format (like .zip or .rar). To access the files, you’ll need to extract them:
- Use extraction software like 7-Zip or WinRAR.
- After extraction, keep the mod files handy for the next steps.
Installing The Mod
Now that you have the mod files ready, it’s time to install them into your game. Follow these steps:
- Open Steam and locate Marvel Rivals in your library.
- Right-click on the game and select Manage > Browse Local Files.
- Navigate to the following path:
Marvel Game > Marvel > Content > Packs. - If there isn’t a Packs folder, create one.
- Drag the extracted mod file into the Packs folder.
That’s it! You’ve successfully installed the mod. When you launch Marvel Rivals, you should see the Black Suit Spider-Man in action, complete with the iconic white logo.
Exploring More Mods
As the modding community grows, more exciting mods will continue to emerge, enhancing your gaming experience.
Community Engagement
As you explore the world of modding, consider sharing your experiences with the community. Engage with fellow players by:
- Commenting on mod ideas and suggestions.
- Sharing your favorite mods and gameplay moments.
- Participating in discussions about future updates and seasonal events.
Modding Marvel Rivals can significantly enhance your gaming experience, allowing for personalized gameplay. However, always remember the risks involved and proceed with caution. Enjoy the creativity that modding brings, and don’t hesitate to share your thoughts and ideas with the community. Happy gaming!


